Language: EN
Start free

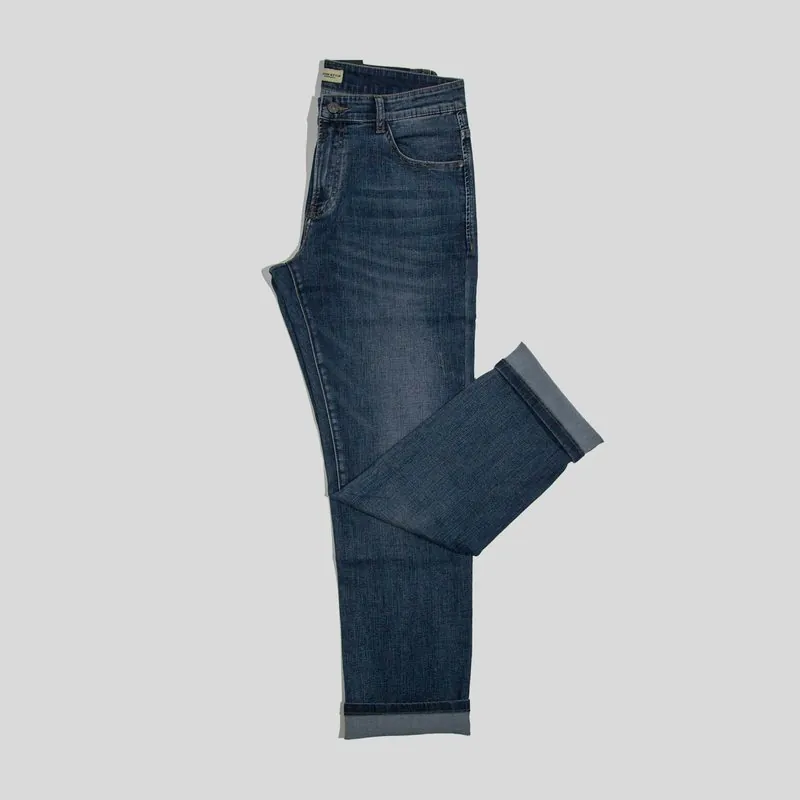
The white background removed, the product left as it is.

Remove background takes the white backdrop off a product photo and delivers the product as a transparent PNG without redrawing it. This lets a supplier image, listing photo or packshot sit on a coloured banner or tinted page.

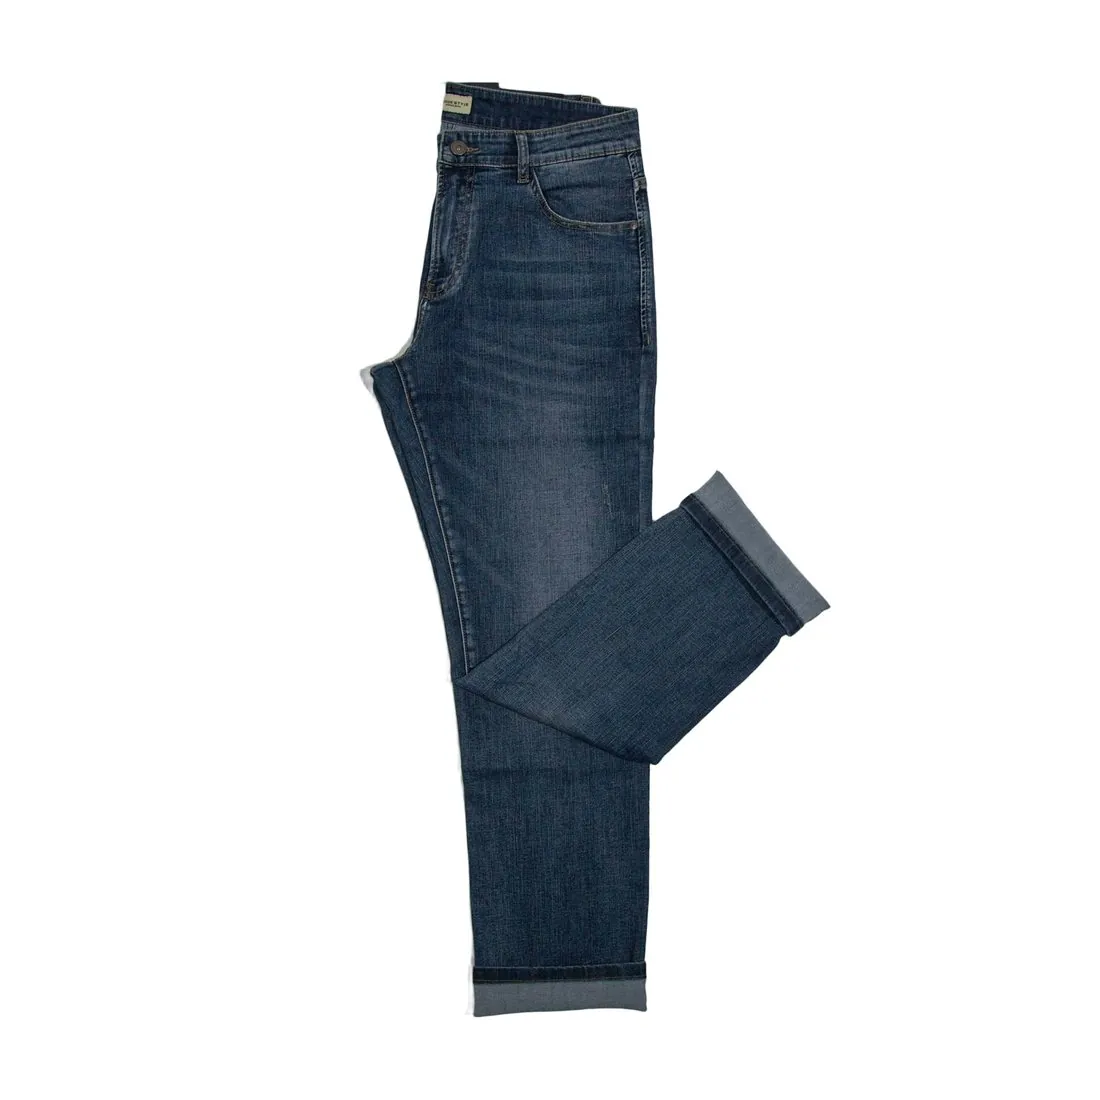
The folded indigo jeans with turned-up hems on a white background · Remove background
Source photo. Made with Herofab · Remove background
Worth knowing

Where white on white goes wrong.

  1. 1

    White products on white

    A white shirt, a pale sole or a porcelain cup has an outline that almost matches the ground behind it. That is the hardest case for any cut-out, because the edge has to be found from a faint shadow or a seam. Place the PNG on a dark colour and follow the whole outline once.

  2. 2

    Enclosed white areas

    The space inside a bag handle, between the links of a chain or under the arch of a heel is background too. A cut-out can leave those islands white while the area around the product is clear. They are invisible on a white page and obvious on any other colour, so check them on a dark ground.

  3. 3

    Glass, glossy and see-through parts

    A glass bottle, a clear phone case, a lens or a sheer sleeve shows the white behind it through the product. Removing the background cannot say how much of that white belonged to the material. Expect such parts to need a close look, and consider the white result for products that are mostly transparent.

Source photo

Choosing the source image for a clean result.

  • Start from the largest version of the image available; a small thumbnail saved from a listing has soft edges that no cut-out can sharpen.
  • Prefer a file without a logo, a badge or a caption on the white area, since anything that is not background is treated as part of the picture.
  • Where the product can be photographed again, a mid-grey or dark ground behind a white product gives the outline the contrast that white on white lacks.

When the white background has to go

A white background works as long as the image is shown on white. A shop theme that sets product cards on an off-white, beige or light grey ground shows a photo on pure white as a pale box with a visible edge. The same happens in a collection image that sets several products side by side, in a newsletter header or on a printed catalogue page with a coloured backdrop. A transparent version lets the product sit on each of these grounds without a new photo.

Where the image only ever appears on a white listing page, the white can stay, and removing it adds nothing. The White background checker on this site measures whether an existing white is pure white or a light grey. When the old white is uneven or tinted, the White result of Remove background replaces it with a clean, solid white ground behind the same cut-out product.

Removing the white in Herofab, step by step

The image is uploaded to Remove background in the Herofab studio, ideally as the largest file available. The Output setting offers three choices: Transparent, White and Grey. For a white background that has to disappear, Transparent is the choice; White and Grey place the cut-out product on a new solid ground. The same photo can be generated again with another setting, so one upload can serve as a transparent file and as a white listing image.

Background removal is not done in the browser. The image is uploaded to Herofab, the product is cut out on Herofab's servers, and the result appears in the account, ready to download. This differs from the free checkers and converters on this site, which work inside the browser. When the photo is uploaded under a product, every result made from it collects under that product, so a transparent file and a white version of the same item stay together.

Which download keeps the transparency

The result is delivered as a PNG: the product keeps its pixels and the former background is empty. The Download button keeps that transparency. The JPG download is meant for listings with a file-size limit, and because JPEG cannot store transparency, that copy places the product on white. Downloads sized for a marketplace are prepared as listing images and are placed on white as well. For a layout, the PNG is therefore the file to keep.

A transparent PNG is considerably larger than a JPEG of the same picture, because it is stored without loss and carries the transparency. A web page or a shop theme that accepts PNG can use it as it is; where only JPEG is accepted, the product needs a solid ground, and the White or Grey result or the JPG download supplies one. Opening the file in the program where it will be used shows how the outline sits on the target colour before it goes live.

Questions

Remove a white background, answered.

Why is the white still there after I save the image as a JPEG?

JPEG cannot store transparency, so the empty area is filled with a solid colour when the file is saved, usually white. Keep the result as the PNG it is delivered in. Many image viewers also show transparency as white or as a grey chequer pattern, which is only a display habit.

Is the soft shadow under the product removed as well?

A shadow that lies on the white ground belongs to the background and goes with it. Shading on the product itself, such as a fold or the shade under a collar, stays. Decide in the layout whether the product needs a new shadow under it.

Can the white be replaced with another plain colour instead?

The tool delivers three results: transparent, white or light grey. For any other colour, take the transparent PNG and place it on that colour in a layout or design program. Any result can be downloaded in marketplace sizes without cropping.

Does the tool need a pure white background to work?

No. The cut-out follows the product, not the colour behind it, so an off-white, grey or patterned backdrop is removed by the same process as pure white. What helps is a clear difference between the product and its surroundings: a pale product on a pale ground leaves the least contrast at the outline.

Is white inside the product removed as well, such as a white print or sole?

No. The tool separates the product from what lies behind it; it does not remove a colour. A white print, a white collar or a white sole belongs to the product and is part of the cut-out, not of the background. White areas enclosed by the product, such as the space inside a handle, are background and are the places to check.

Can the white background be removed from a photo of a model?

Yes. Remove background accepts on-model images as well as product photos, and a model shot against a white wall is cut out the same way. Fine hair is the hardest edge in such an image, together with lace and see-through fabric, so place the transparent result on a dark and on a light background before it is used.

Can the product be placed in a new scene once the white is gone?

Remove background delivers the product transparent, on white or on light grey and stops there. For a scene, Product studio works from the same photo and sets the product on studio grey or beige, marble, wood, linen, a podium, outdoors, in a home setting or on the seller's own background image, with a soft shadow, no shadow or a reflection.

How much does it cost?

2 credits per image. In US dollars that is $0.08 to $0.24 per image before tax, from the largest plan to the smallest credit pack. The cost is shown before you generate, and if a job fails the credits are returned. The 20 free credits at sign-up cover 10 images with this tool.

Examples by product
Get started

Your next collection, shot this week.

20 credits at sign-up, no card required. Images made with free credits carry a watermark. Herofab also removes the watermark from those images once credits are purchased.