What Fabric studio replaces and what it is briefed to keep
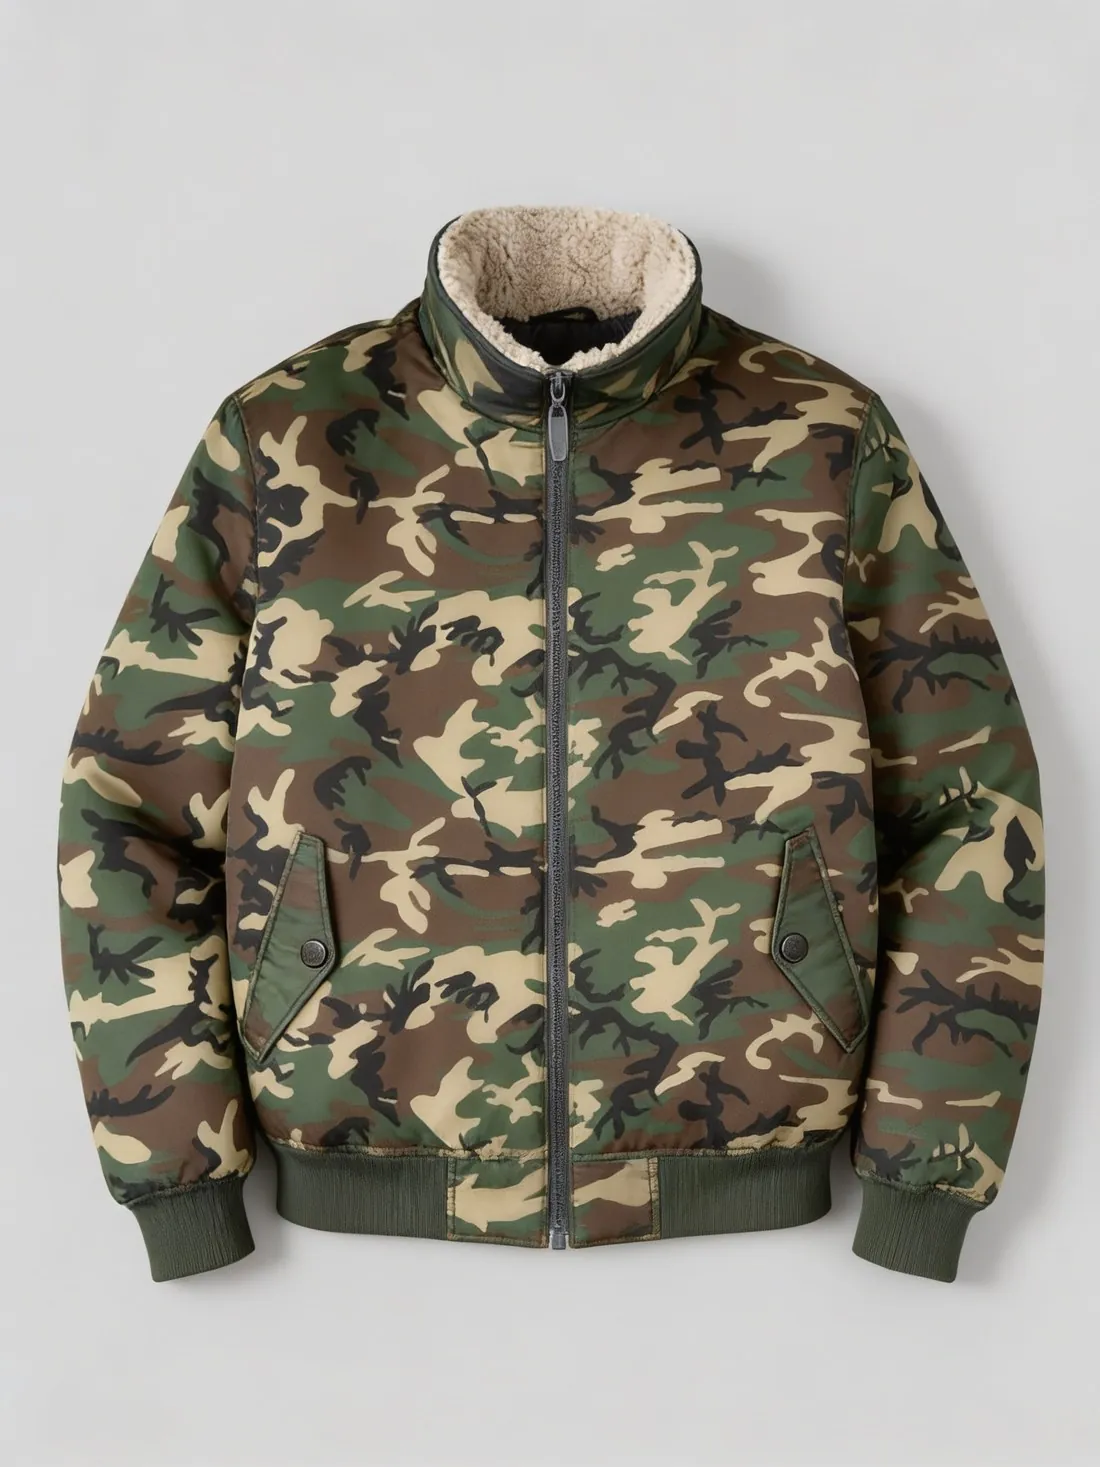
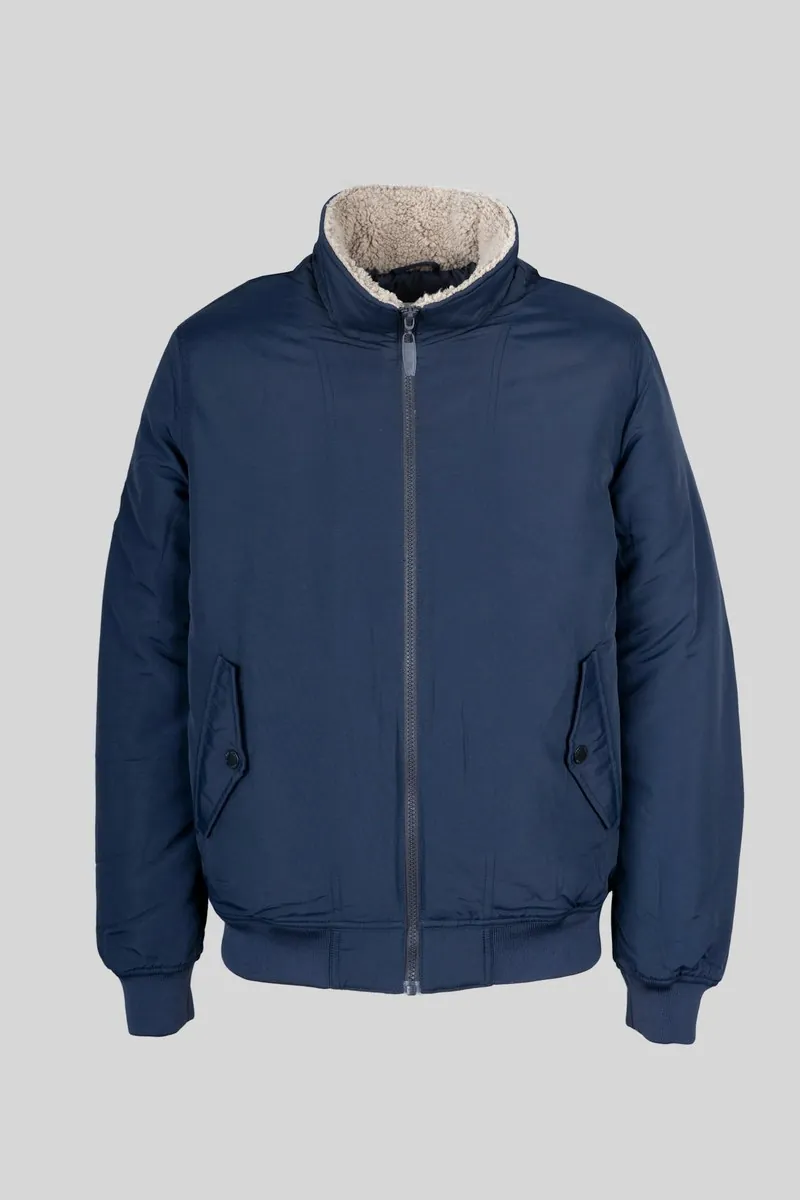
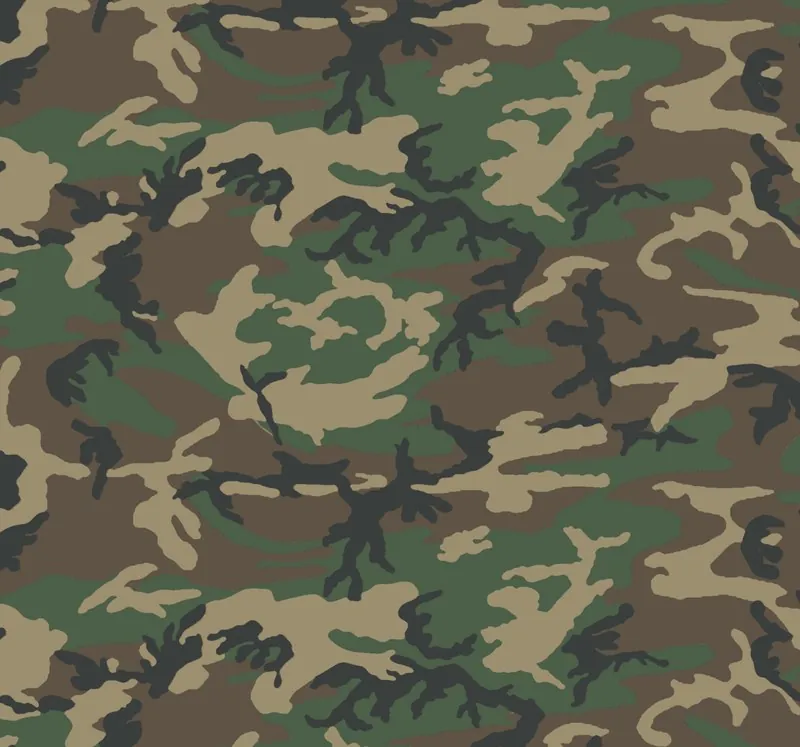
Fabric studio takes two photos, and both are required: one of the garment and one of a fabric or swatch. The brief is to remake the garment in that fabric and to change its main fabric only, so that the colour, the material, the texture and the pattern come from the swatch. The swatch is treated as a sample. The tool is briefed to copy its weave or knit, its sheen and weight and its print with the same shapes, colours and spacing, and to ignore the edges, the background, the folds and any label or ruler in that photo.
The construction of the garment is named in the brief as something to keep: the cut and silhouette, the sleeve and hem length, the collar and fit, the seams and darts, and the number and position of buttons, zips, pockets and drawstrings. Rib trims, linings and hardware are briefed to keep their original material and colour, so a ribbed cuff is not meant to take the new fabric. A placed logo, graphic or text is to stay where it is, on top of the new fabric, while an all-over print of the old fabric is replaced by the swatch.
When Fabric studio fits and when another tool fits better
Fabric studio suits a garment that has been photographed once and exists in other fabrics: the same shirt in a stripe, a check and a plain linen, or a jacket in a new print. The garment photo can show it on a hanger, laid flat or on a model. On a model, the person, the face, the hair, the pose, the background and the light are briefed to stay, so a series made from one photo is meant to differ in the fabric alone. The optional garment category lists garments only; bags, shoes, headwear, jewelry and eyewear are not in it.
When the fabric stays the same and only the shade changes, Colour variants is the more direct tool: it changes the base colour and is briefed to leave the texture, the weave and the stitching as photographed. When the fabric is right and the garment has to be seen on a person, Virtual try-on dresses a studio model in it, and Change pose adds further poses of an on-model image. For a close view of the new surface, Detail shot can frame the fabric texture of an image Herofab delivered.
What to check in the new fabric before publishing
Compare the result with the physical fabric first. The pattern scale has three settings: as on the swatch, smaller or larger. The smaller and larger settings ask for motifs at about half or about twice the size they have on the swatch, and that size is read from the swatch photo, not measured. Check that a stripe or a check has the width it has on the real cloth. Then look at how the pattern runs: the brief asks the fabric to wrap around the folds, to continue across the seams and to keep the original folds, shading and highlights.
Next, go through the parts that are not meant to change. Count the buttons and pockets, compare the collar, the sleeve length and the hem with the garment photo, and read any logo or lettering. Labels sewn inside the neckline are briefed to stay inside. With the format set to the garment photo's own, the framing is briefed to stay as it is; with another format it is adjusted as far as the new shape requires, so look at the edges of the image. A pattern that lies flat across a fold, or a detail that has changed, is a reason to generate again.