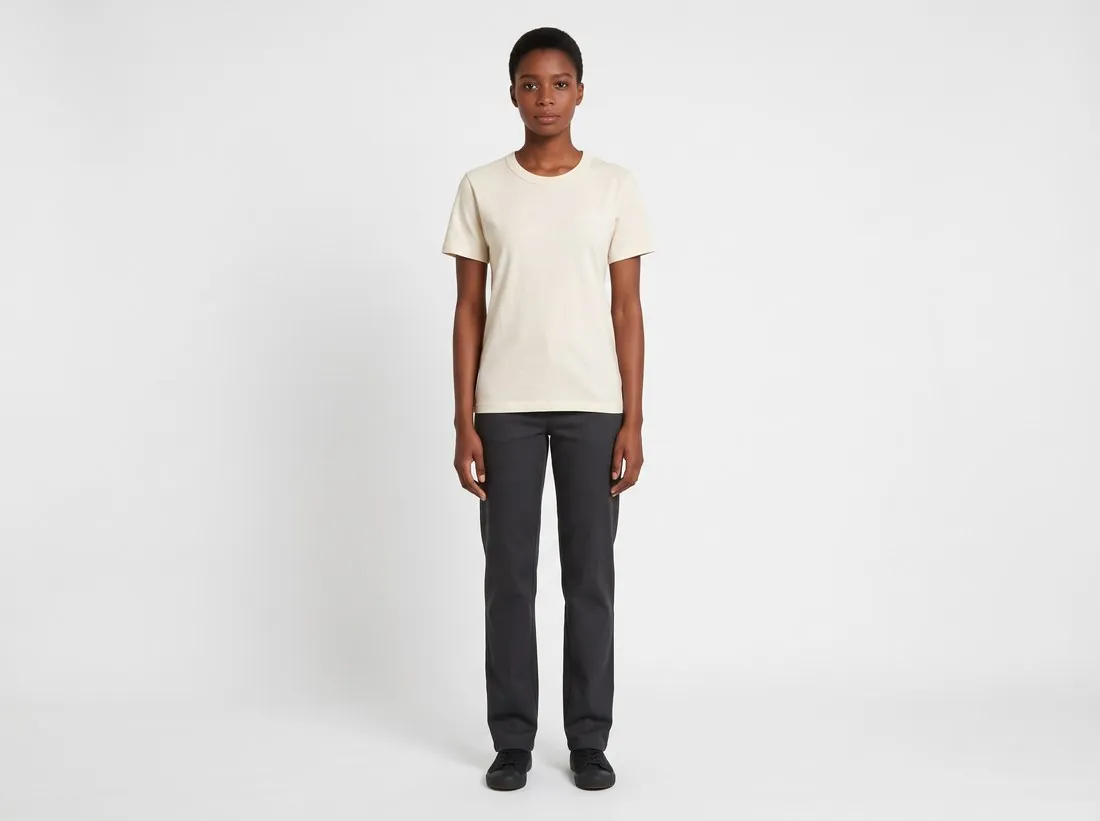
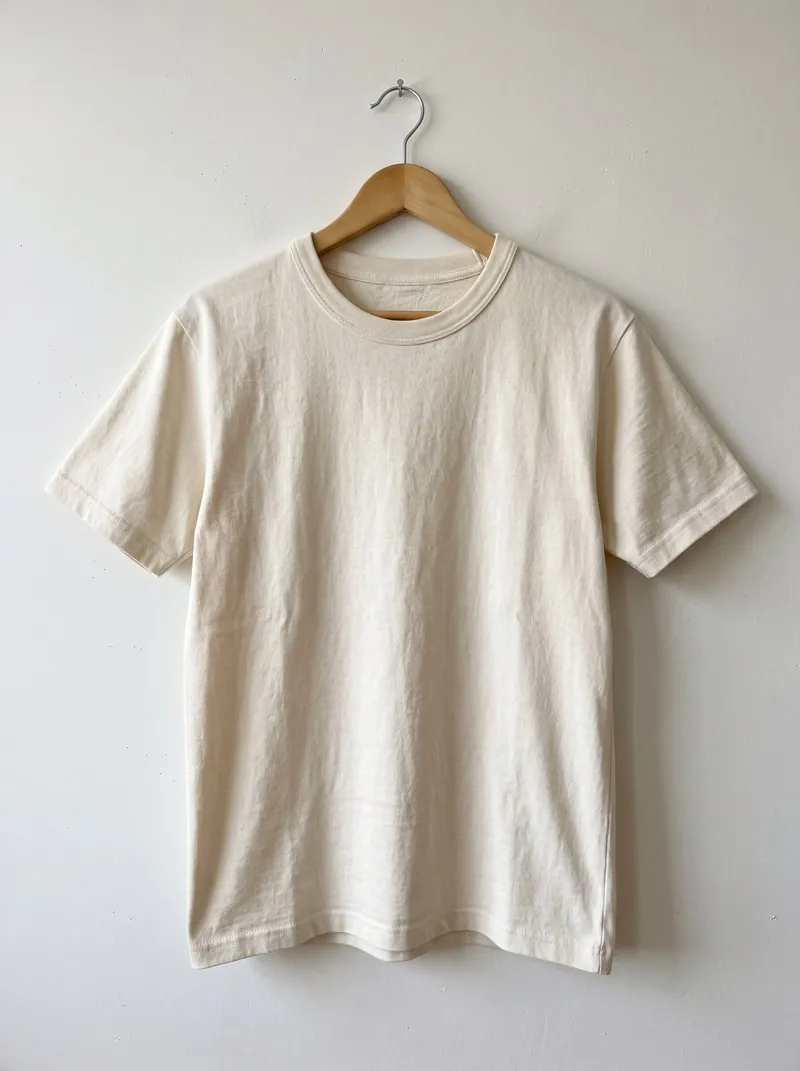
1. Colour comes from the product, not the light
A shadow, a warm lamp or a reflection in the original photo can make part of a product look darker than it is. The AI image should show the true colour of each material. Where the original is unevenly lit, judge the colour on the part that is evenly lit.
2. Repeated parts match each other
Rivets, buttons, snaps, eyelets and buckles that are identical on the product must be identical in the image: the same colour, the same finish and the same number. A tote bag whose rivets came out in two tones was one of the images Herofab replaced before publication.
3. The item is built the way it is built
Image models lean towards common designs. A crew-neck sweater can gain a hood, and a necklace can be re-routed into a V it does not have. Compare the construction: neckline, closure, collar, and how a chain is linked and where its clasp sits.
4. The material stays the same material
A sherpa collar is not a knitted collar, and suede is not smooth leather. Materials are easiest to lose in a close-up, where the texture fills the frame. When the texture matters, a close-up photo of the material helps the image keep it.
5. Print, numbers and text are exact
Numbers, letters, logos and stripe counts are small, and they change easily. Read every character in the AI image against the original, at full size.
6. The model suits the item
An item cut for men belongs on a male model, and the rest of the outfit should be styled for the same person. When an item is cut for one gender, state it rather than leaving the choice open.
7. Hands and body are possible
For rings and bracelets, look at the wrist and the arm: they should enter the frame in one natural line with the hand. A hand resting on a shoulder it could not reach draws the buyer's eye to the mistake instead of the product.
How to run the check: side by side, at full size
Put the generated image and the source photo side by side on a large screen, each at full size, and keep the product itself within reach. The photo shows where things are; the product shows their colour and material, free of the photo's own light. Then count instead of glancing: the eye confirms what it expects, and five buttons look much like six. Take each number from the product first, then find it in the image.
Start with construction: the neckline, the closure, the collar, the sleeve and hem length, and on jewelry the way a chain runs and where the clasp sits. A fault there rules the image out whatever else is right. Next compare the repeated parts with each other, then read prints, numbers and logos character by character. Material and colour follow; the model, the hands and the frame edges come last.
When a fault is found: fix, generate again or reshoot
A local fault in an image that is otherwise right is a case for Retouch: one wrong letter, a button in the wrong tone, a hand. The seller marks the area in the delivered image and names the kind of fault: text or logo, colour, product design, the person, the background, or something else described in a note. The brief is one targeted correction; only the marked area and its immediate surroundings are changed.
Generating again fits a fault that is structural or spread across the image: an added hood, a rerouted chain, several small faults at once. Change something before the new run: add a close-up photo of the material or the small part, or choose another pose. A reshoot is the answer when the fault begins in the source photo: a folded collar, a shadow across one rivet, a colour cast.
What a checker measures and what only the eye sees
Herofab's free checkers measure the frame and the file. Product photo checker reads the background colour, the share of the frame the product fills, whether it touches an edge and whether a shadow lies next to it, and compares them with the main-image rules of a chosen marketplace. White background checker counts the pure white pixels along the edges of the photo. AI image label checker reads the metadata of the file and reports which AI markers it carries.
None of the three compares the image with the product. A rivet in a second tone, a collar in another material or a changed letter goes unnoticed by these measurements, because what is measured is the background, the frame and the file. A pass means that the measurable rules are met, not that the image shows the product that ships.
Checklist
- Compare at full size, next to the original photo, not as a thumbnail.
- Check identical parts against each other, not only against the original.
- Read every number, letter and logo.
- Check the neckline, the closure and any chain before the colour.
- When the material matters, upload a close-up photo of it too.
- The product in the image must match the product that ships.
Sources
Checked 30 September 2026. Rules change; the official pages are the final reference.